Choose the scoring position before spending energy
A non-dunk attempt from your own half is the long-range three-point shot and costs four energy bars when fully funded. A normal attempt from the opponent’s half is worth two points and costs one bar. Energy does not decide whether the position is worth three points: the side of the court does.
Move clearly into your own half when practising the long shot. Standing exactly on the center line does not meet the strict own-half test. A dunk follows its own one-bar action and does not become a three-pointer because of a long-shot energy budget.
A funded long attempt receives guidance toward the basket in this game, but an opposing block or contact can cancel that guidance. Create separation before releasing instead of assuming that four bars make the attempt immune to defense.
Avoid the underfunded long-shot trap
With at least one bar but fewer than four, an own-half attempt can still release. It spends the energy remaining and is forced to miss. The animation is therefore not evidence that the shot was fully funded. Below one bar, the shot cannot start.
Check the segmented energy meter before jumping into a long attempt. If you have two or three bars, move into a two-point position or preserve the ball until a better opportunity. Spending the last bars on a forced miss also leaves less room for your next defensive dash.
Budget a possession rather than a single shot
Seven usable bars can pay for one four-bar long shot, one one-bar dash, and two one-bar short attempts before recovery changes the total. That arithmetic describes the budget, not a guarantee that you will keep possession for every action. Two funded long attempts need eight bars before any extra movement cost.
For a simple practice pattern, start with seven bars, take one funded long attempt, then spend one bar on a dash. You have two left before refill. At that point, another own-half attempt is underfunded; a short attempt is a different choice. Characters with nine or ten usable bars give you more options, but they can still run dry.
Understand why waiting does not restore a fourth bar
Active recovery only refills an on-court character up to three bars. It does not refill that player to the full usable maximum while you wait. A character depleted below four cannot simply idle on court and recover a funded long shot through active refill alone.
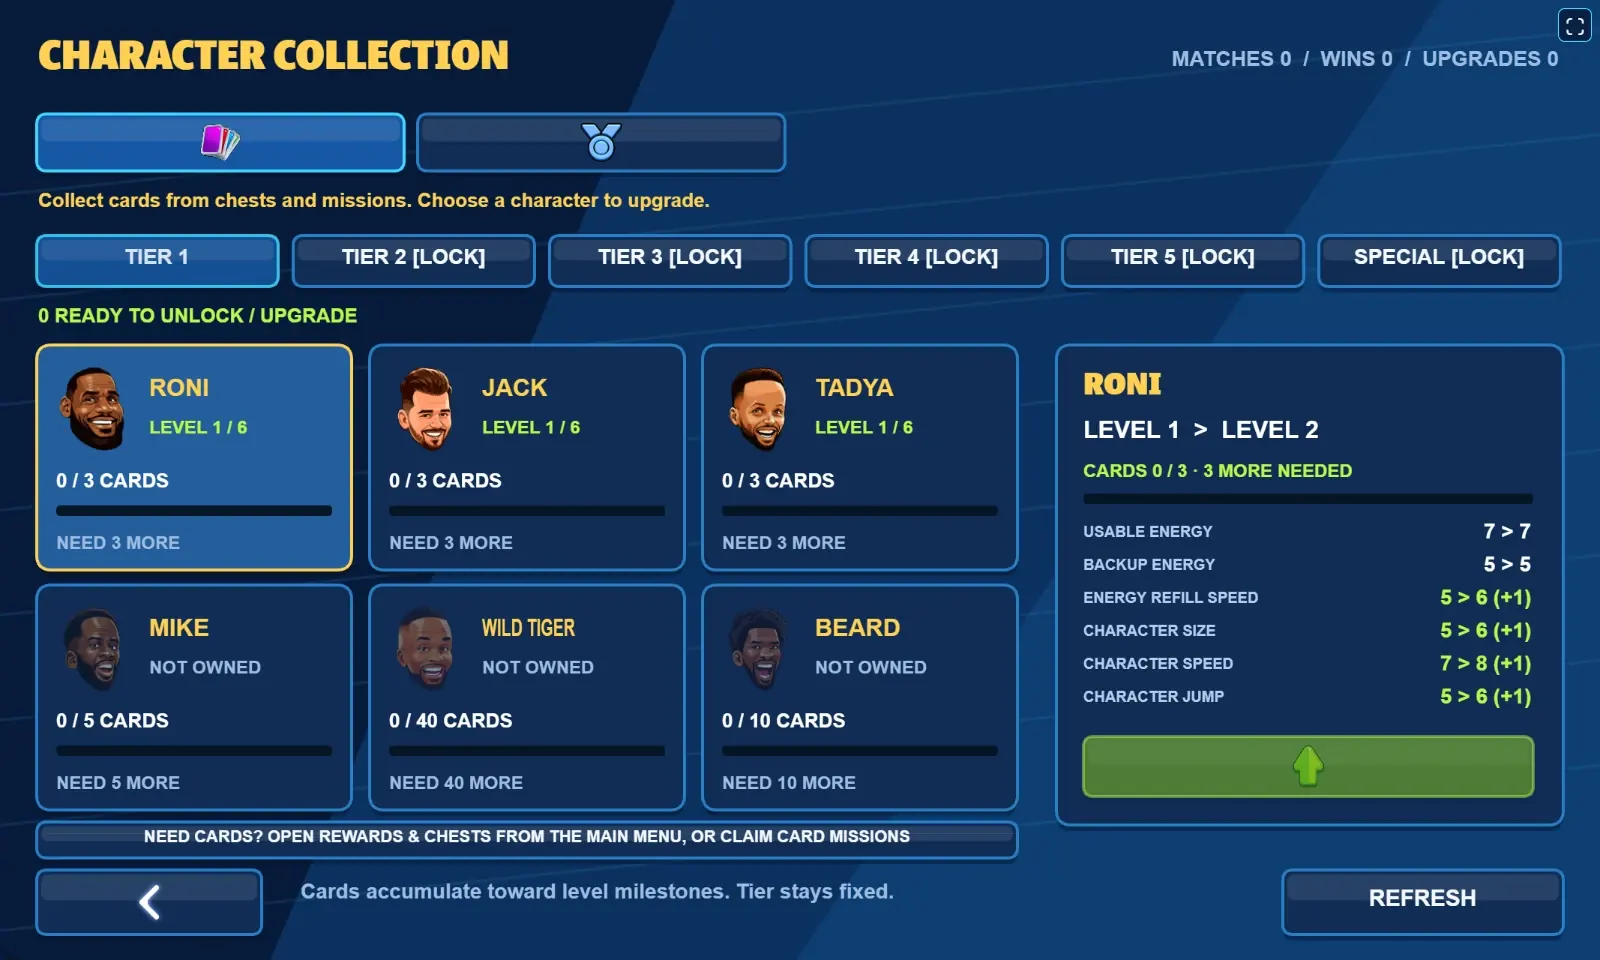
Bench recovery follows the reserve rules, usable maximum, and character attributes. Backup energy supports that recovery; it is not a second set of immediately spendable shooting bars. Active refill does not consume backup energy. Compare refill ratings as character attributes rather than reading them as a number of seconds.
Pausing, score resets, and countdown transitions do not award a free energy reset. Plan a reserve with enough usable energy for your next attacking idea.
Use the second dash with a purpose
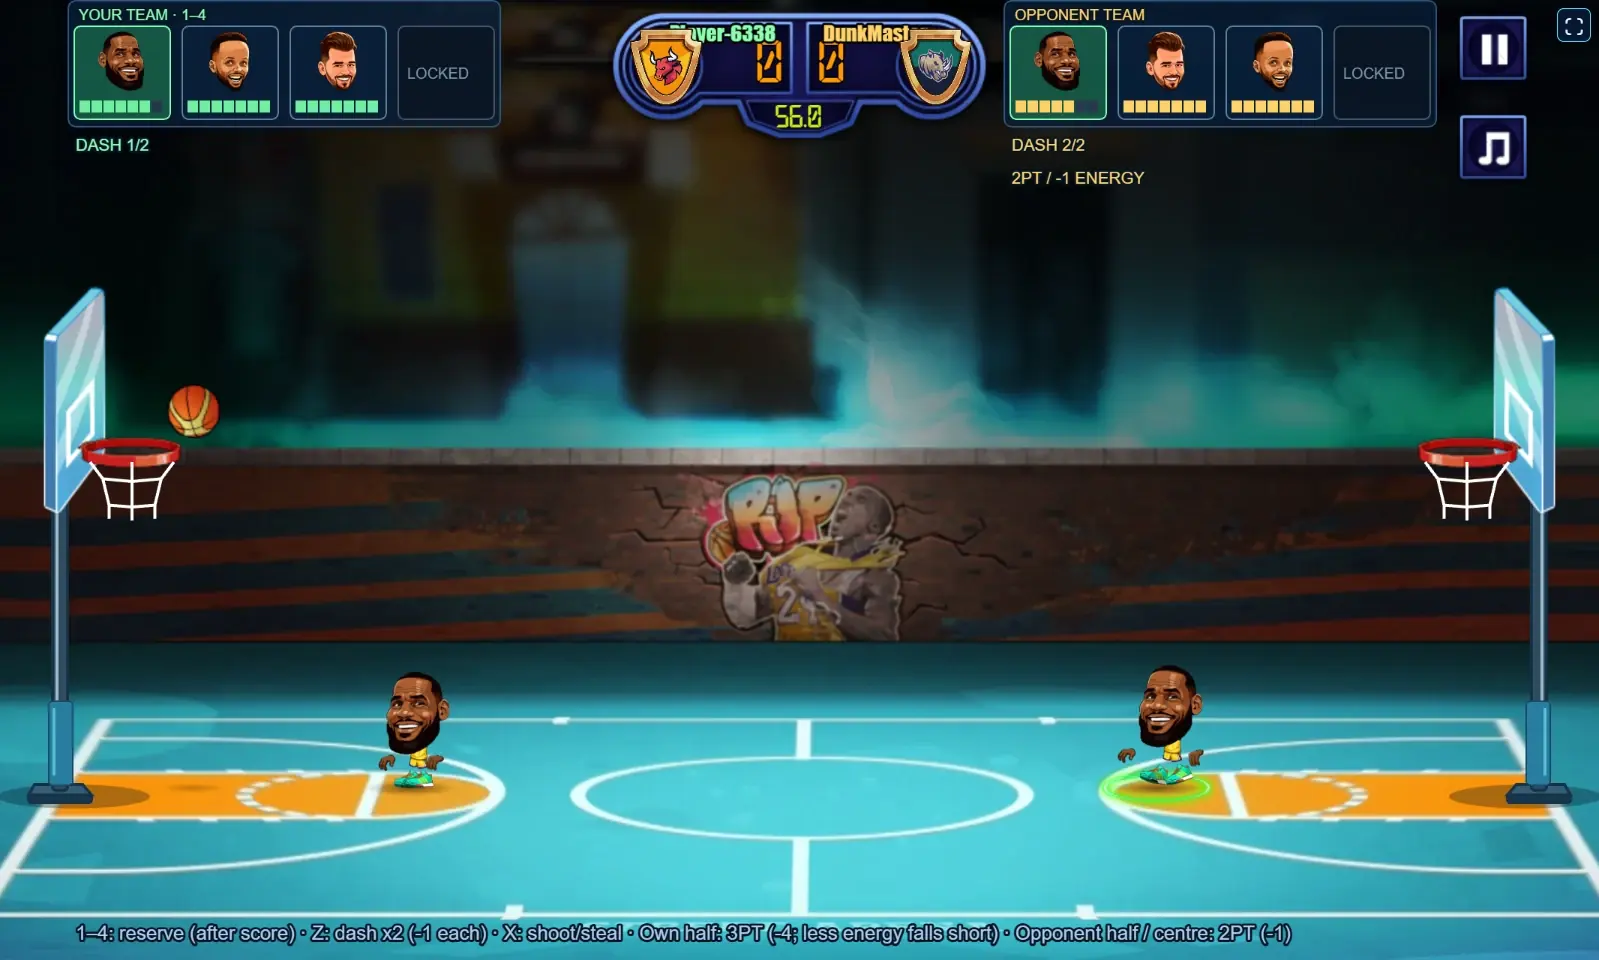
Dash costs one energy bar and has two charges, allowing two consecutive uses when the character is eligible to act. The charge recharge setting is one second, while energy is a separate requirement. Having a charge does not let an empty character dash for free.
Release and press the dash key again for the follow-up. Holding it down is not an unlimited chain. Try one dash to create separation, then keep the second available for a response. Spending both immediately may carry you past a useful position and leave fewer defensive options.
The current controls use Z or K for dash. With no ball, the ground action on X or L is also a steal dash; it is not the old stun attack. Move into a useful interception path rather than expecting a hit button to freeze an opponent.
Meet the ball in the air when defending
Use movement to stay close enough to contest, then jump as the opponent prepares the release. X or L without the ball performs the aerial block action while airborne. The timing and position of the contest still matter even when your character has a higher jump rating.
Practise one defensive input at a time. First learn the opponent’s approach, then add the jump, then the block action. Repeated dashing while the ball is already above you spends energy without necessarily putting your character on the shot path.
Queue reserves before the next score
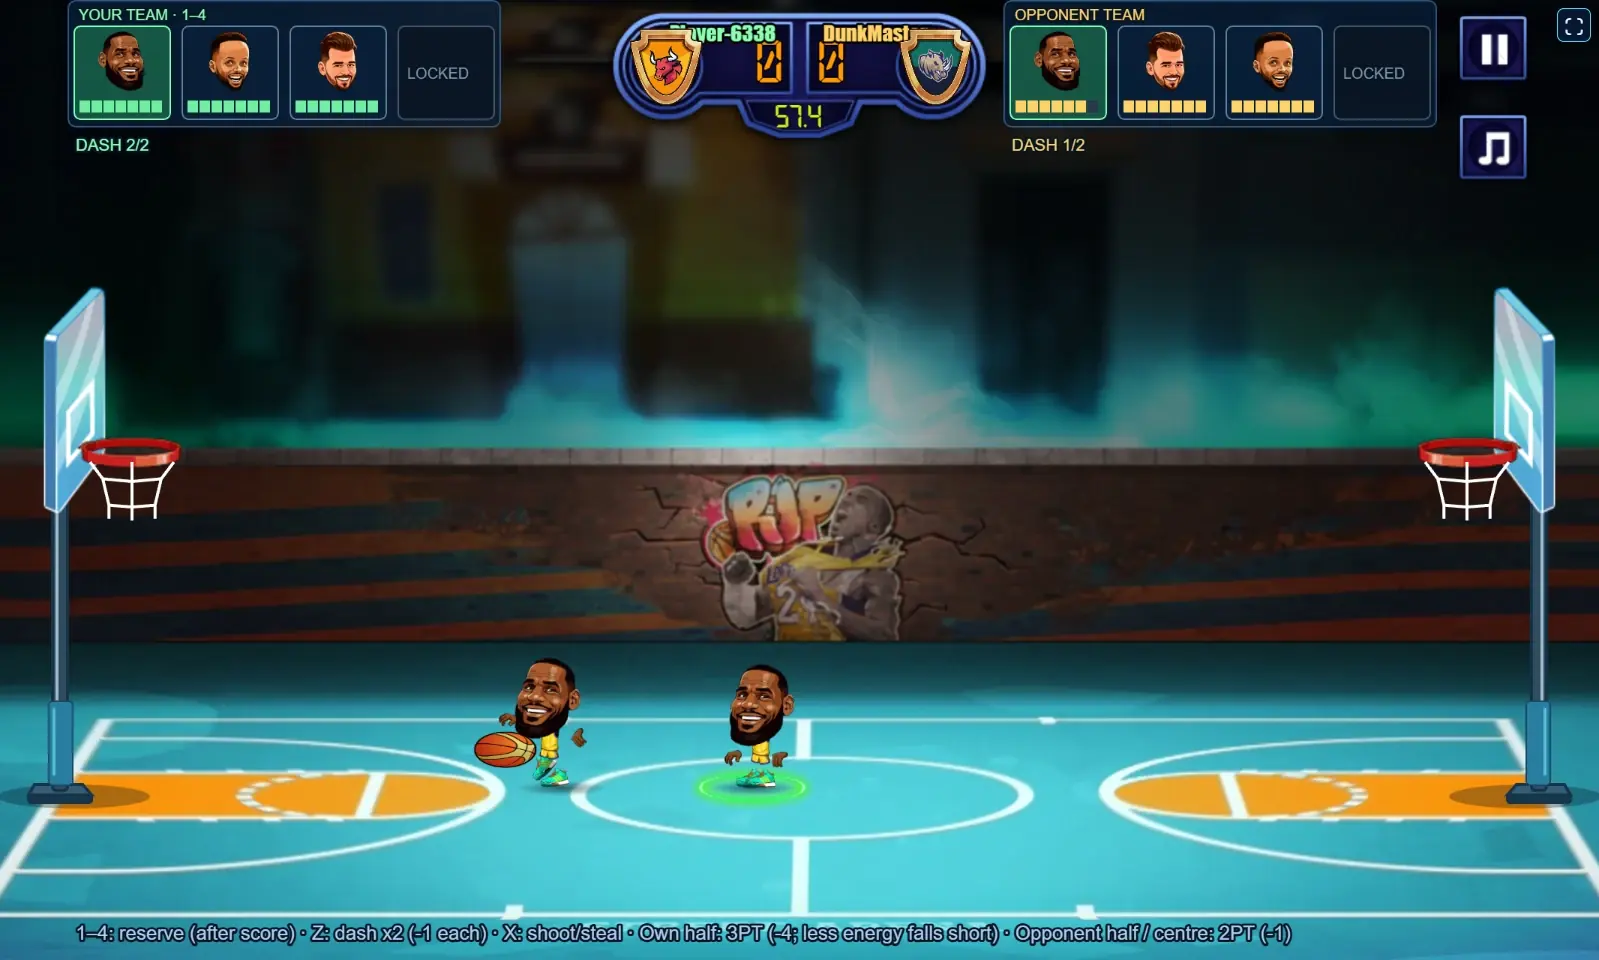
Selecting a reserve during live play queues the change; it does not replace the active player immediately. The swap commits at the scoring reset, and the incoming character needs at least one usable energy bar. Use the roster indicators to check that your selected reserve can enter.
An exhausted active character can trigger selection of an eligible reserve at a scoring reset. That is different from an automatic change halfway through a live possession. Pressing 1–4 is a way to request a reserve slot, subject to the same timing and eligibility rules.
Use distinct owned characters to fill the four roster positions. The opponent uses the same number of roster slots as you. Adding a fourth player changes the rotation options on both sides, so learn the three-player rhythm before assuming a larger lineup makes the next match easy.
A three-match practice plan
In the first match, focus on one-bar short attempts and track how many actions you can afford. In the second, make own-half attempts only with four or more bars and observe how defensive contact affects the release. In the third, queue a reserve before a scoring reset and watch the energy state after the swap.
Keep a familiar character in the lineup during this practice. Afterward, compare one new profile at the same level to isolate a movement or energy difference. Higher leagues adjust the computer-controlled opposition, so a strategy that worked earlier may need better spacing and energy management as you progress.
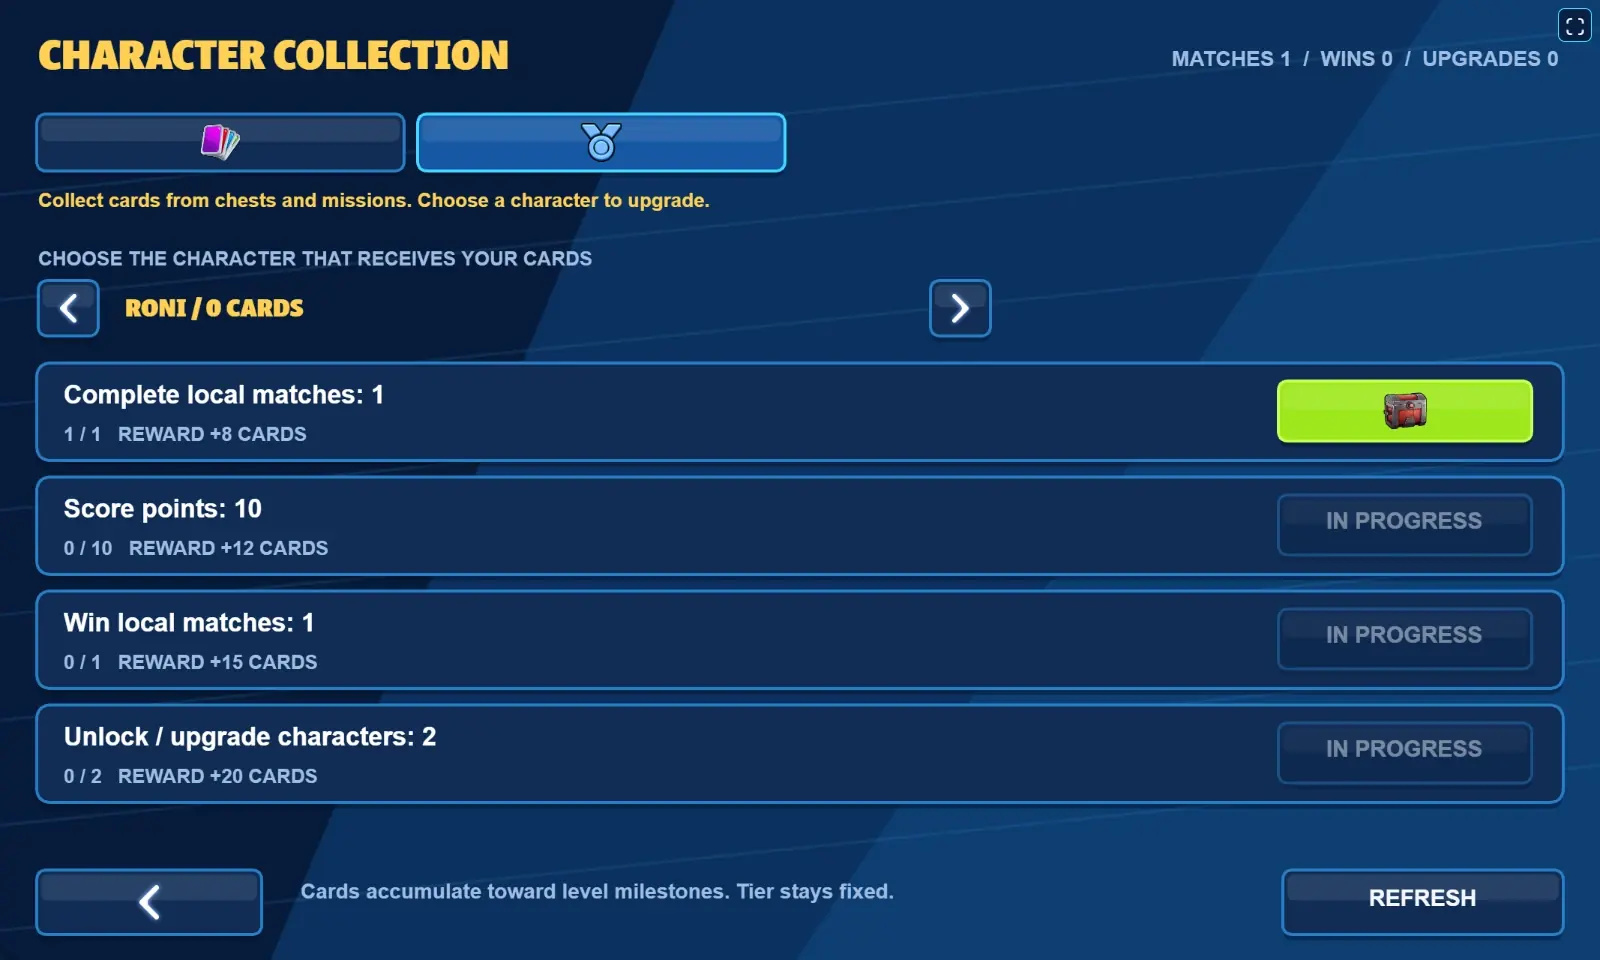
Finish the matches even when the practice is imperfect. Valid completed matches advance the completion mission, points advance their own mission track, and the resulting cards can improve your next roster. Progress in this game is saved in the browser profile.
Desktop controls at a glance
Use these default keyboard inputs as a quick reference. What the action key does depends on possession and whether the character is grounded or airborne, so check the situation before repeating it.
| Action | Default input | Practical reminder |
|---|---|---|
| Move | Left / Right or A / D | Set the shooting position first |
| Jump | Up or W | Time the contest or release |
| Shoot with the ball | X or L | Check court half and energy |
| Dash | Z or K | One bar per use; two charges |
| Steal without the ball, grounded | X or L | Uses the steal dash |
| Block without the ball, airborne | X or L | Meet the shot path |
| Queue a reserve | 1–4 | Commits at a scoring reset |
Frequently asked questions
Why did a three-point animation release but miss?
An own-half attempt with at least one but fewer than four energy bars is allowed to release as a forced miss. A funded attempt can also lose its guidance after an opposing block or contact.
Can I dash twice in a row?
Yes, when both charges, enough energy, and the normal action conditions are available. Release and press again; each dash costs one bar.
Why does my selected reserve not enter immediately?
Live selection queues the reserve. The actual substitution happens after a score during the reset, and the target must have at least one usable bar.
Put it into play.
Play one match with a single goal: check court half and energy before every shot, then queue a fresh reserve before the next scoring reset.
Back to the courtAbout this guide: attribute tables and rules reflect the current game. Recommendations interpret those attributes; they are not measured win-rate rankings. Screenshots were captured from the game. Report a correction.