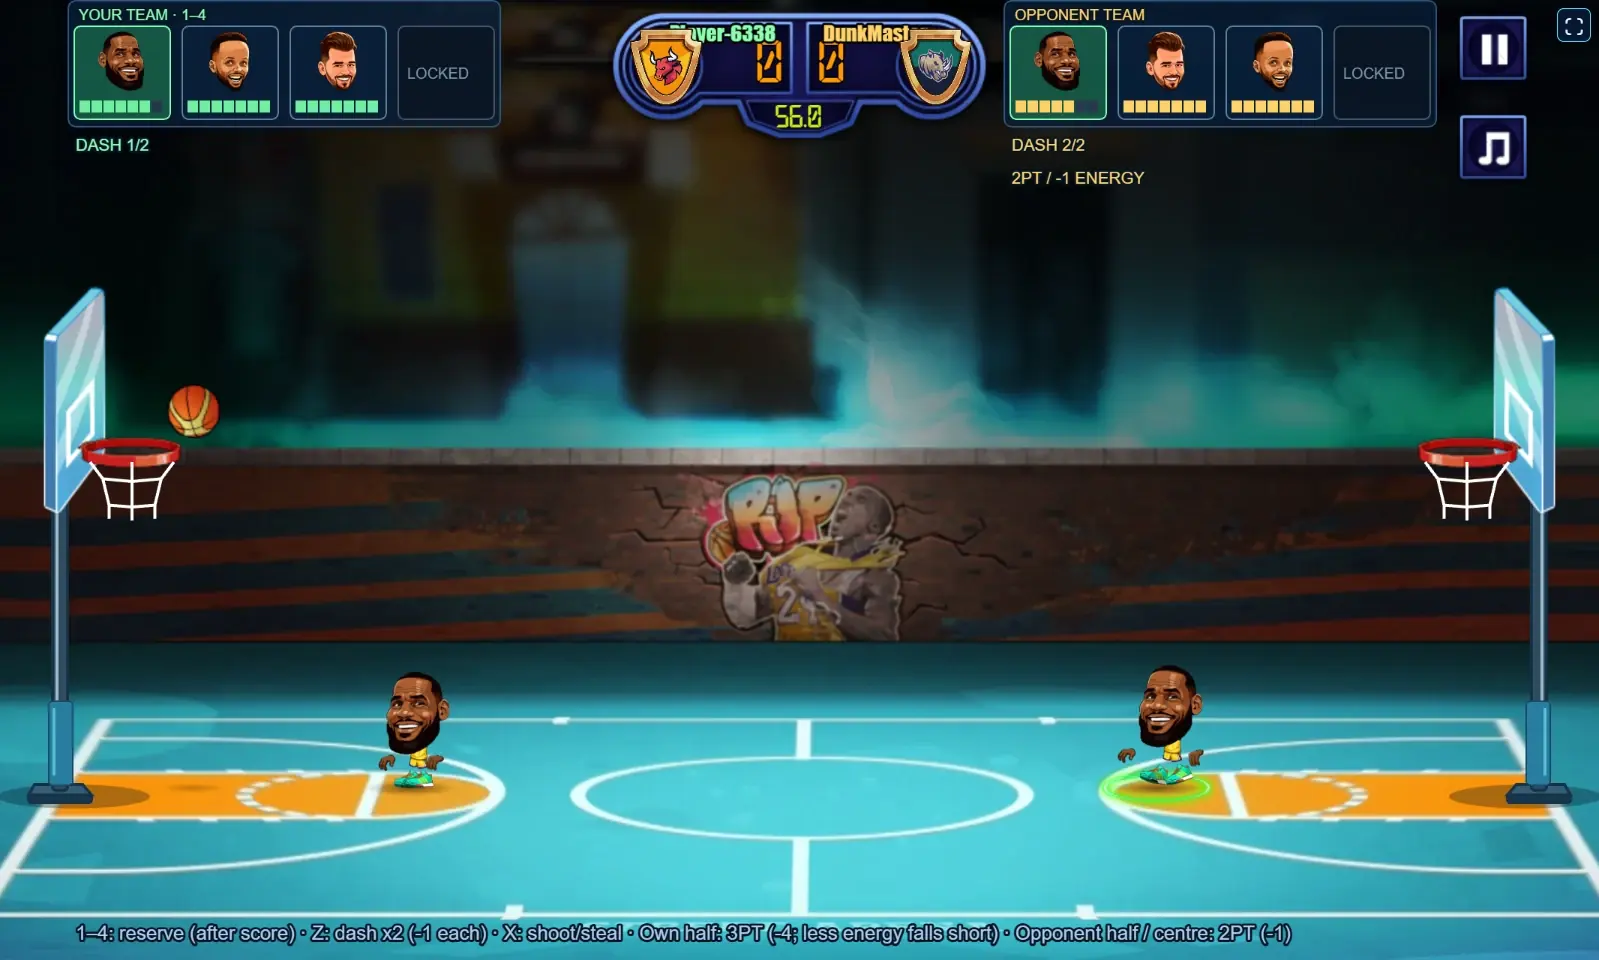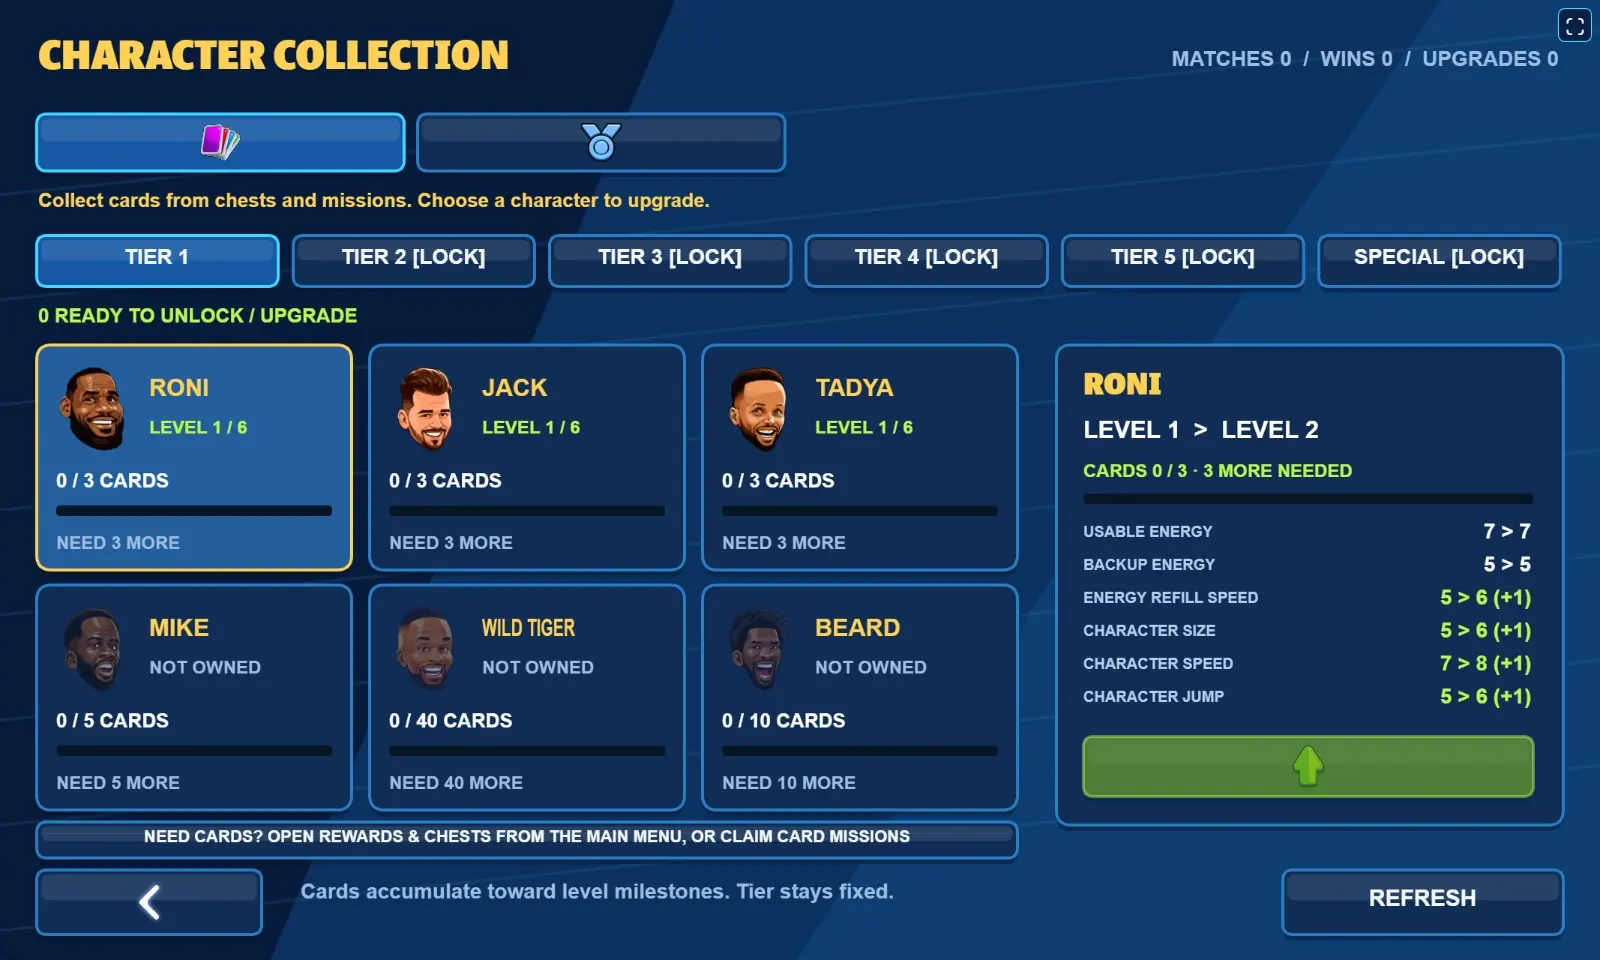
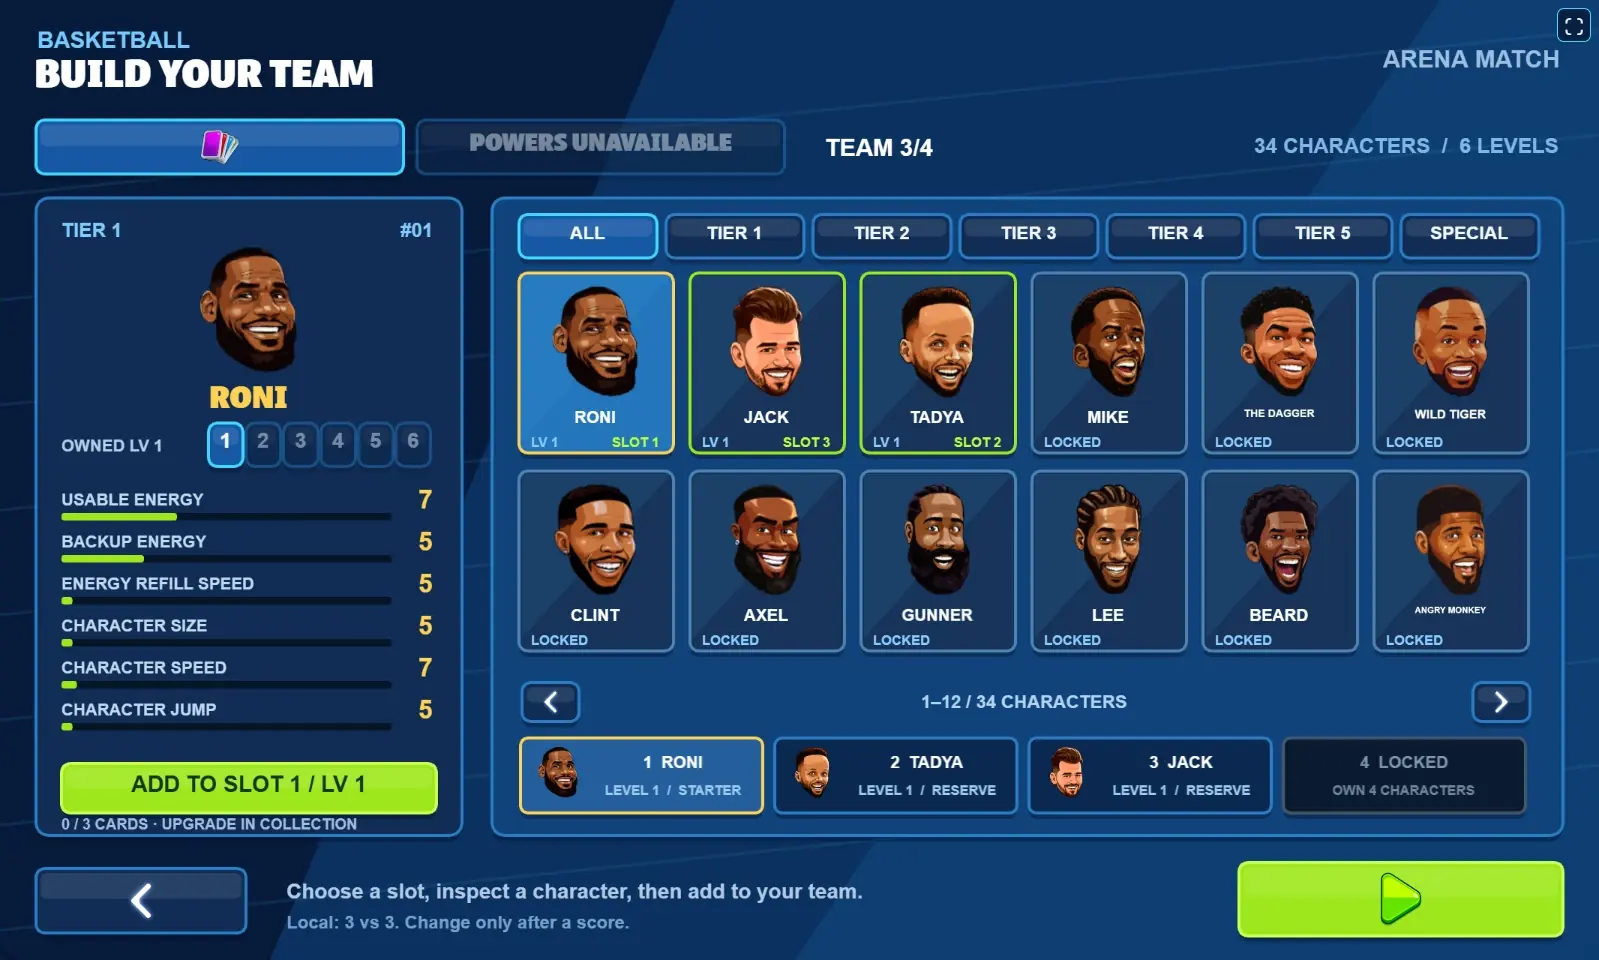
Choose a team before you enter the court
The team screen is your first useful decision. Select Play from the main menu, inspect an owned character, and choose the roster position you want to change. The attribute panel gives you a way to compare energy, movement, jump, and size before starting.
The roster displays four positions, but a visible position is not automatically an available character. Locked positions open as your owned collection grows. For an early match, focus on understanding the starters you already have rather than assuming every catalog character can be selected.
Learn the desktop controls one action at a time
Movement, jumping, shooting, and dashing use separate inputs in the current desktop game. Click the game area if the keyboard is not responding, then practice moving in both directions before combining actions. The action button depends on whether you have the ball and whether you are airborne.
| Action | Desktop input | What to know |
|---|---|---|
| Move | Left / Right arrows or A / D | Use position to create space before releasing a shot. |
| Jump | Up arrow or W | Jumping and shooting are separate actions. |
| Shoot | X or L while holding the ball | Your release position determines whether the attempt is worth two or three points. |
| Dash | Z or K | A short press requests a dash; energy and the action state determine whether it can happen. |
| Defensive action | X or L without the ball | On the ground it requests a steal dash; in the air it can block. |
| Queue a reserve | Number keys 1–4 | The selected change takes effect at an eligible reset after a score. |
Choose shots by position, then check their energy cost
Three-point attempts come from your own half of the court in this game. They cost four energy bars when fully funded. Moving into the opponent’s half changes a regular attempt to two points, with a cost of one energy bar. Having four energy does not make every shot a three-pointer.
An underfunded long attempt is a poor choice even when the game lets you release the ball. With at least one bar but fewer than four, that attempt spends the remaining energy and is made to fall short. Move closer, keep possession, or prepare a reserve instead of relying on an unaffordable long shot.
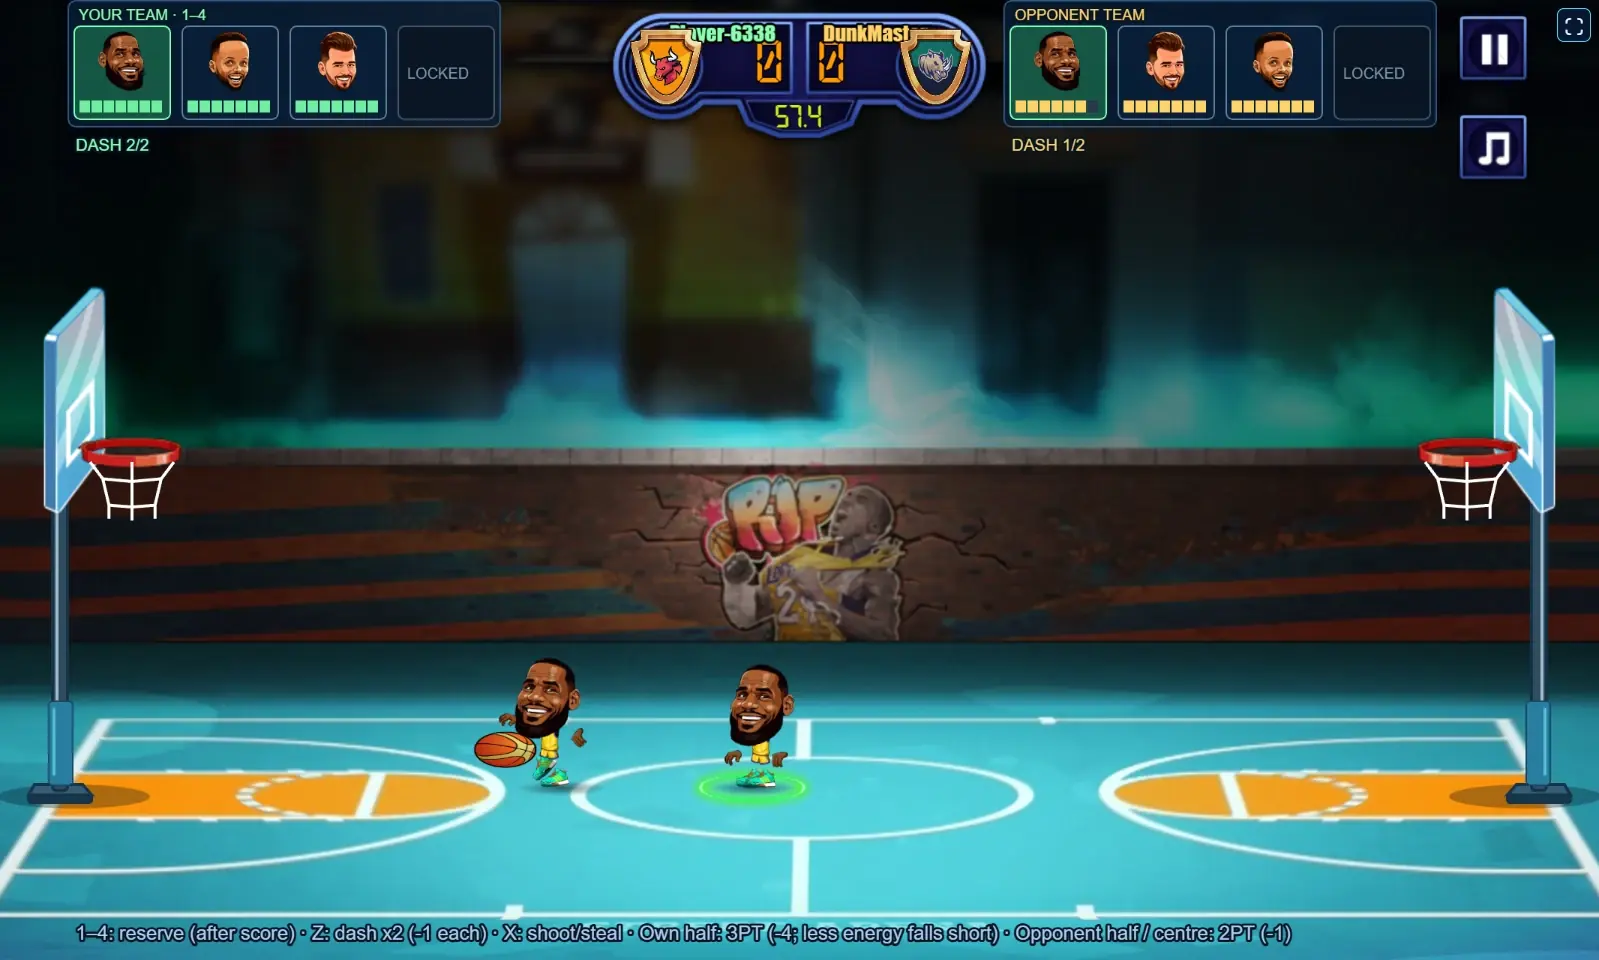
Defend the opening instead of chasing every movement
Good early defense starts with staying close enough to react. A dash is useful when it closes a real gap or creates a chance to contest the ball. Repeatedly spending energy while the other player is already out of reach makes the next possession harder.
After a score, check which character will return to the court and how much energy the reserves have. A queued substitution is a plan for that reset, not an immediate switch during live play. Keeping this rhythm in mind makes the match easier to read.
Frequently asked questions
Why did my long shot fall short?
Check your energy at release. A non-dunk attempt from your own half needs four bars for a fully funded three-pointer. With at least one but fewer than four, the current game allows an underpowered attempt that falls short.
Can I change characters in the middle of a possession?
You can queue an eligible reserve, but the change is committed after a score at the match reset. It is not an instant mid-possession substitution.
Put it into play.
Try one match using mostly close shots, then compare it with a match where you save energy for attempts from your own half.
Back to the courtAbout this guide: attribute tables and rules reflect the current game. Recommendations interpret those attributes; they are not measured win-rate rankings. Screenshots were captured from the game. Report a correction.